Deploy your code
Assumptions
- You already have an account in the Platform
- You are a part of an Organization
- You have a Role that allows you to access the DevOps section of the Platform (view projects and environments), to access a Project (and its Environments) and to execute certain actions on those Environments (notably, deploying code). We’ll refer to this as ‘Developer’ from now on.
- For enabling local development, you already have created an SSH key on your machine and added it to your Platform account.
- You understand what Git is, as well as its basic usage
- You understand what an Artifact is, as well as its basic usage
- Your project is a Drupal project
- Sidenote: different projects have different deploy flows set up (meaning: how and what files and folders to sync, what actions to execute, …) but that has no impact on executing a deploy as a Developer
In this tutorial…
We’ll show you how you can:
- Find your Project and Environment in the Platform
- Find your Project repository (Git)
- Check out your project repository
- Make and push your code changes
- Deploy a specific Git reference (tag or branch) via the UI
- Deploy an Artifact via the UI
Step 1: Find your Project
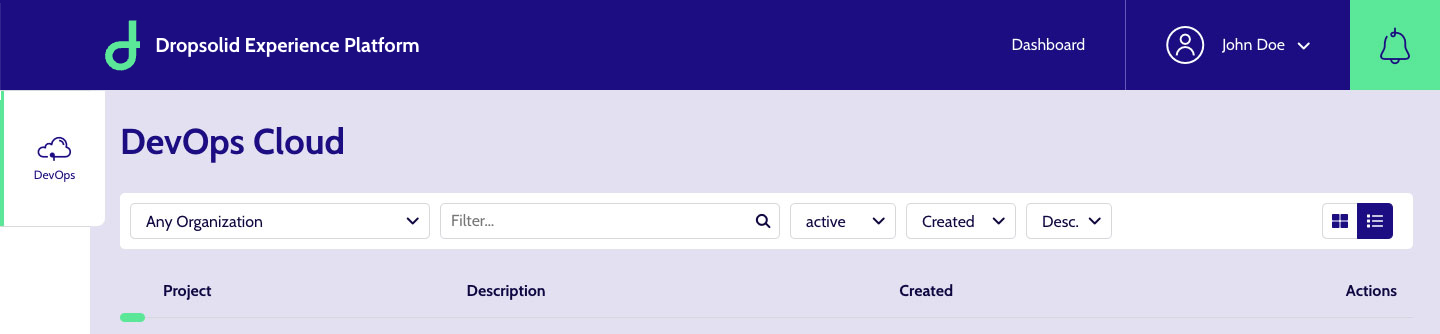
Log into the Platform if you haven’t already, and surf to the DevOps section. You can do so either by going directly to https://platform.dropsolid.com/devops, by finding the card on the Dashboard or by clicking the ‘DevOps’ tab in the left sidebar.
Here you will find an overview of all the Projects you have access to. Rather than scrolling through page after page of them, we suggest you use the Filter field in the top bar to quickly find what you are looking for.
In our example, we’re interested in finding the Florista Demo. So we simply input the ‘florista’ keyword and this will give us a dropdown list of Projects containing said keyword.
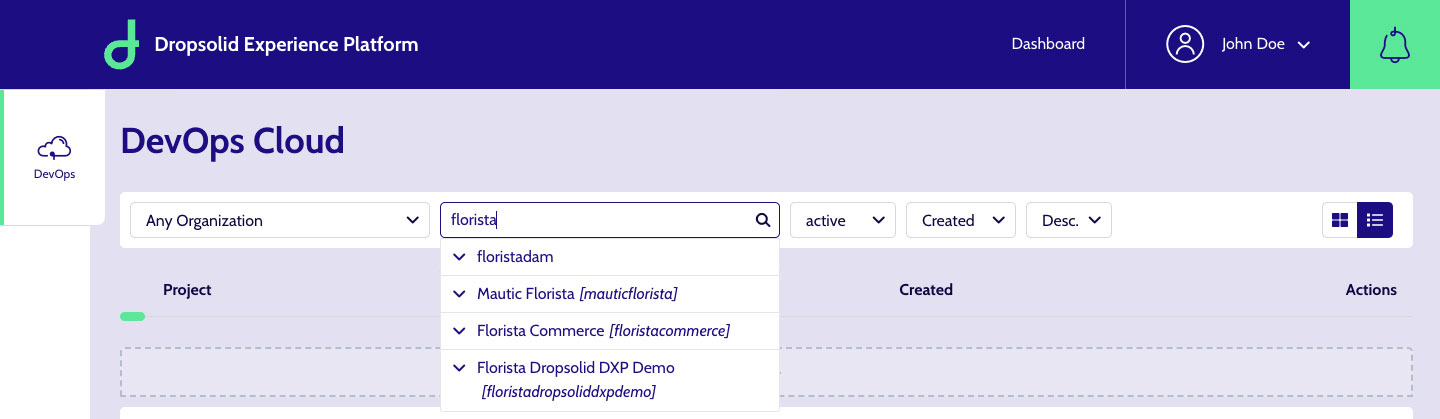
Clicking the correct Project leads us to the overview tab of the Project.
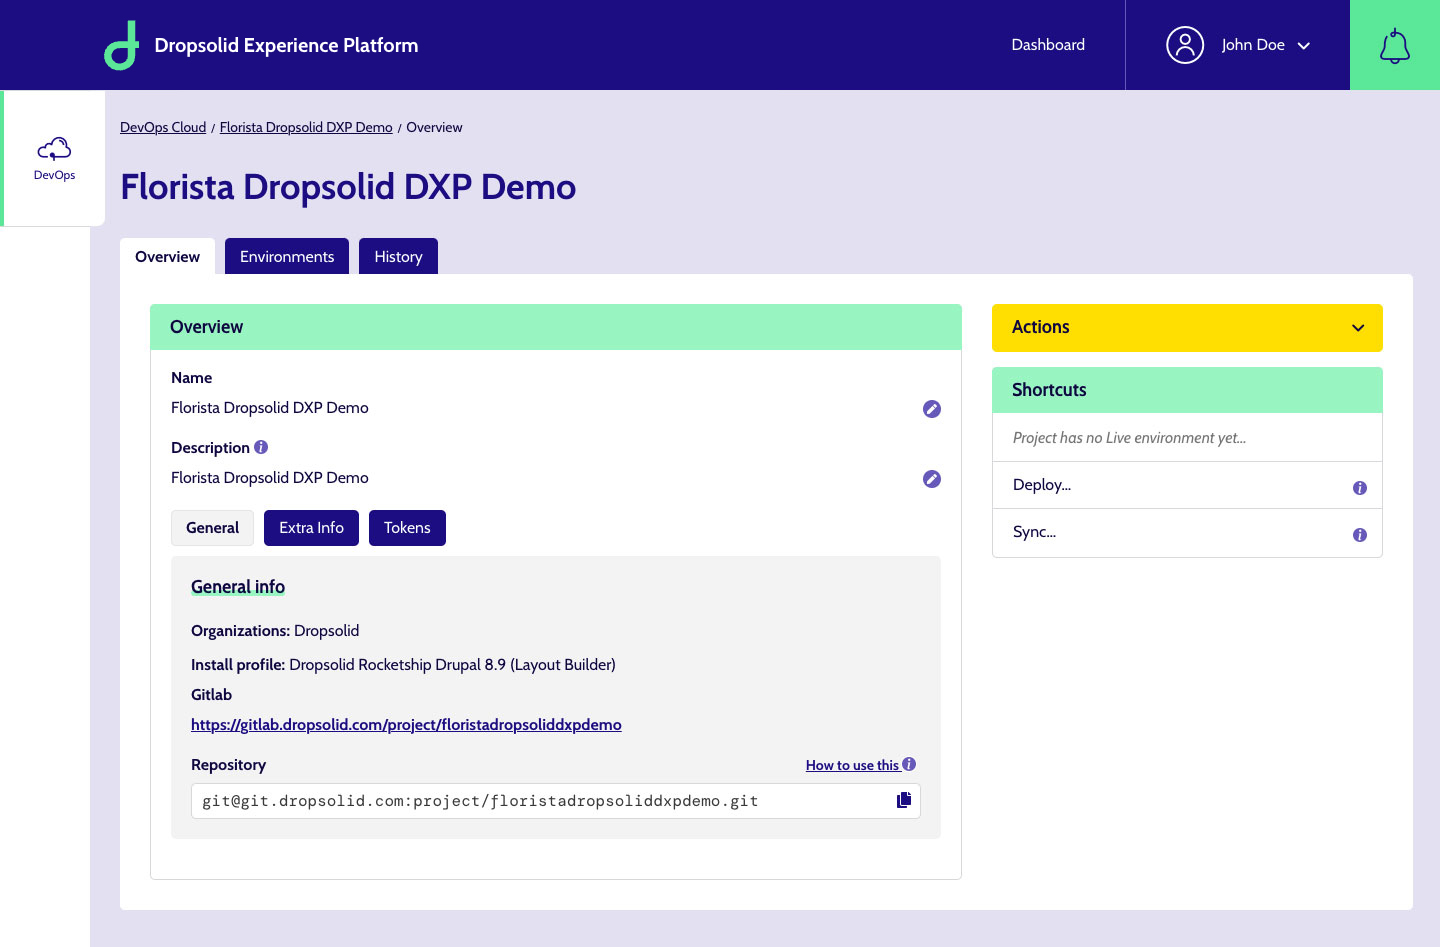
In here, you’ll see some basic information about the Project, including the https url of the repository (in this case, hosted on an instance of Gitlab that is managed by Dropsolid) as well as a code field with the SSH url.
Step 2: access your project repository to make changes
As Developer, you have 2 options for making code changes:
- Clone the project to your local machine to make and push changes that way
- Use the Gitlab interface in the browser to make your changes directly using the web IDE
We’ll briefly go over both options below
1. Clone your project
From the Project overview tab, Copy the SSH url from the code field.
The line should auto-select once you click on it, and clicking the icon on the right will copy it to your clipboard.
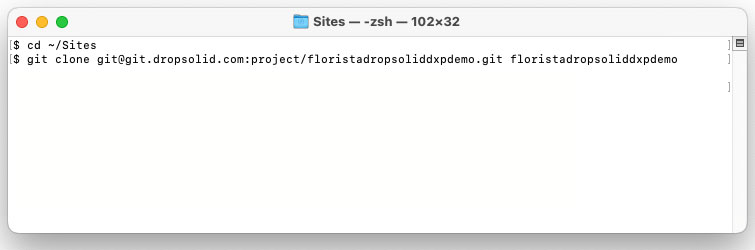
Use your favorite code terminal application:
- Go to the folder you keep project code in
- Enter
git clonefollowed by the SSH url and the folder name you want to use:
git clone git@\<ssh url\> my\_folder
If your SSH keys are in order, the code should be checked out (after asking for authentication, depending on your local setup).
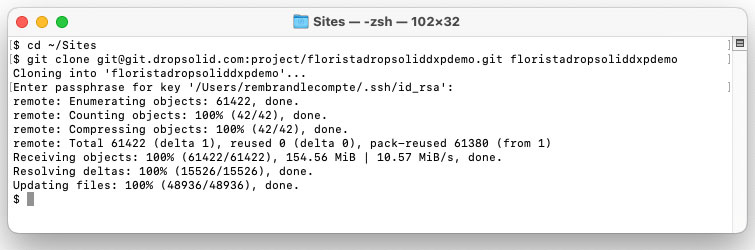
By default, either a ‘main’ or ‘master’ branch will be checked out.
You can now make and switch branches, as well as commit and push changes made in your favorite code editor.
2. Using the web IDE
From the Project overview tab, click the Gitlab https url to open it in the browser.
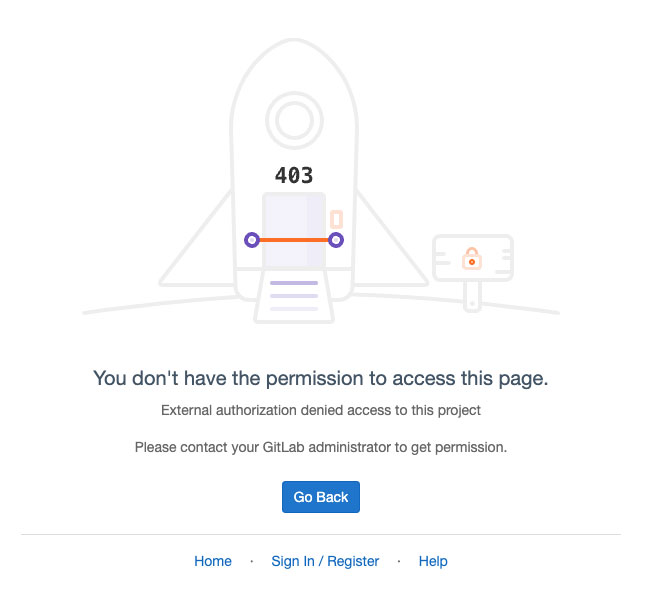
The first time you try to access a Project repository this way, you will land on a 403 page. This is because you aren’t automatically logged into this Gitlab instance with your Platform account and you haven’t granted any access permissions yet.
Use the ‘Sign In’ link at the bottom to go to the login page.
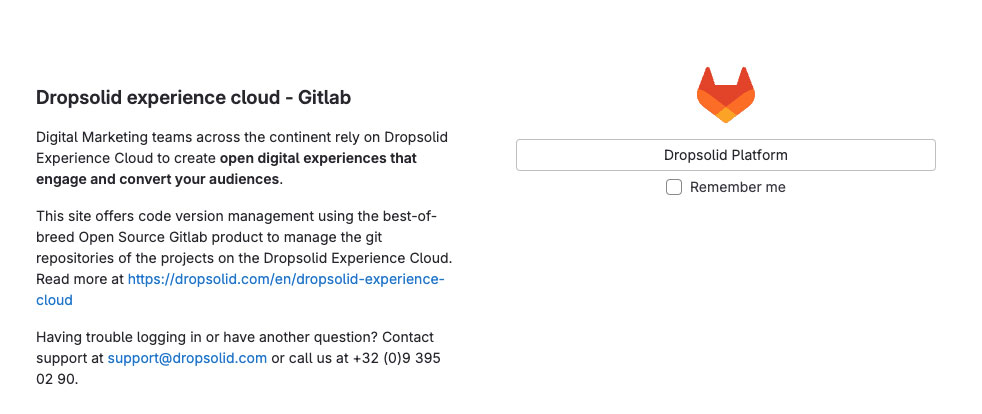
You will now be asked to log in with your Platform account. Click that button on the right to confirm.
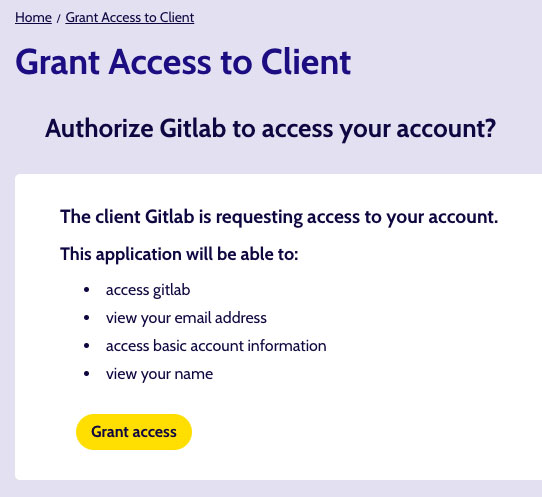
Once past that step, you just need to grant access to the Platform and you’re all set.
Click the big ‘Grant access’ button on the bottom.
Now you should land on your Project repo page in Gitlab.
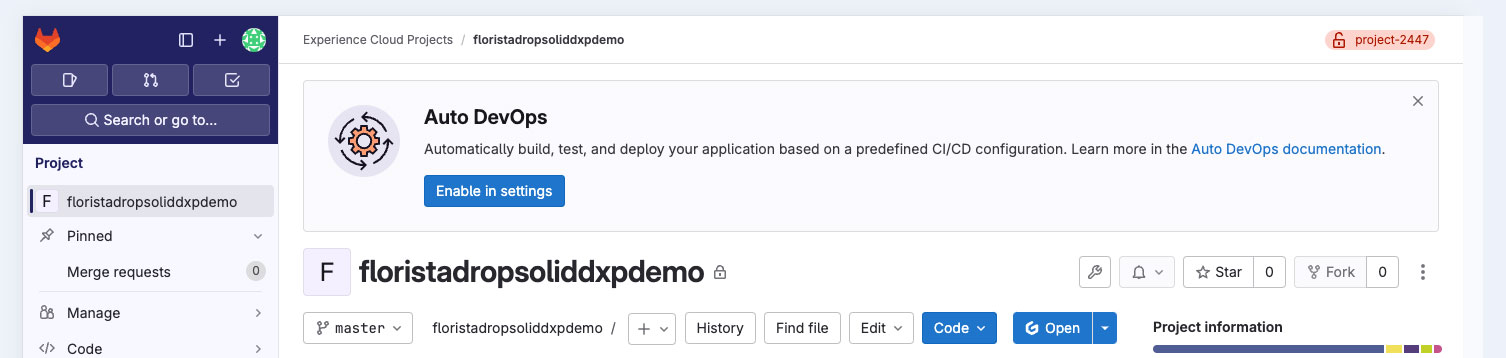
Just below the Project name, you should get several dropdowns and buttons that let you perform actions. We’re most interested in accessing the IDE.
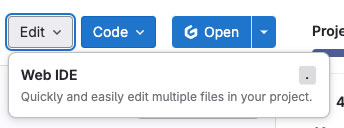
To do that, click the ‘Edit’ dropdown-button and choose ‘Web IDE’.
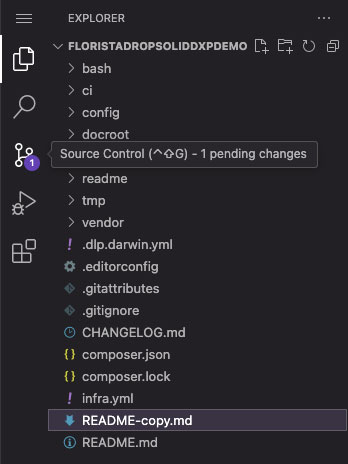
What you see now, should be familiar if you have ever used Visual Studio Code or other code editors.
Here you’ll find all the files and folders of the project, you can click those to open and edit them.
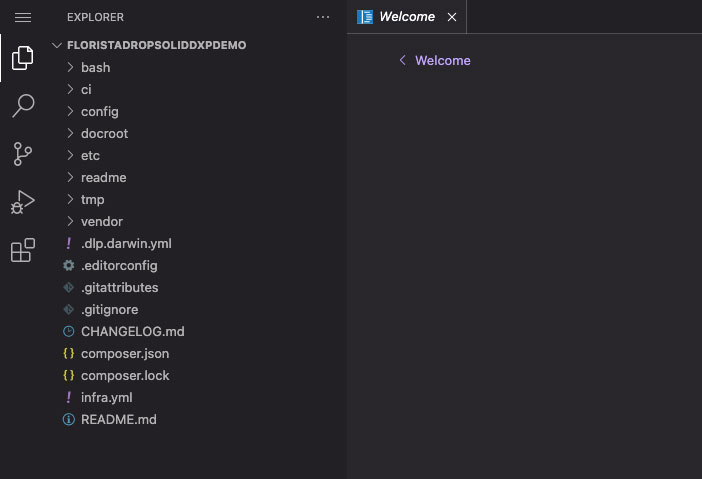
Using the File menu, you can then save your changes.

To commit and push those changes, however, you need to open the Source Control menu item in the sidebar. This will prompt you to commit your changes to the current branch or a new one.
More information about the Gitlab IDE can be found in the Gitlab documentation
Step 3: create an Artifact to deploy (optional)
If you don’t want to simply deploy a Git reference (eg. a tag or branch), you can leverage Pipelines to create Artifacts and use those instead.
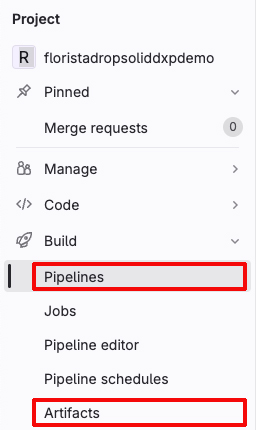
Any recently created Project should already contain some defaults but you can manage your own as well. You’ll find both Pipelines and Artifacts in the Build section of your repo.
We won’t get too deep into how the Pipelines or Artifacts work, as you can read all this information in our technical documentation, but suffice it to say that an Artifact is any kind of file or files produced by a Build Pipeline. In the next step, we’ll explain how you can choose an Artifact (or a Git reference) to deploy.
Step 4: deploy your code
Going back to the Project in Platform, you have 2 options to deploy your code using the interface. Either going from the Project Overview or from the Environment you want to deploy to.
Deploying from the overview
In the sidebar on the right, you should see a Shortcuts widget with a ‘Deploy’ link and an info icon.
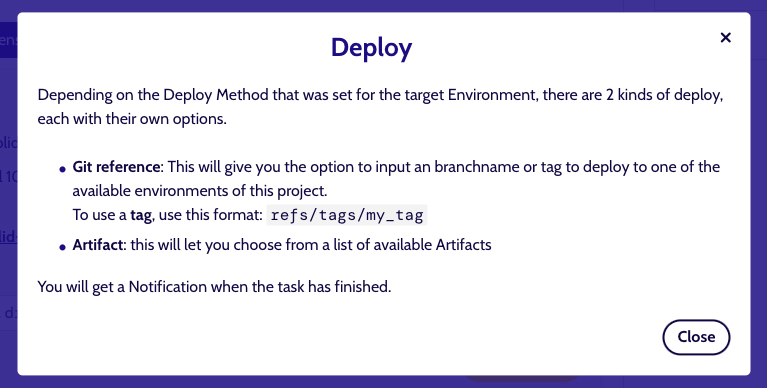
By clicking the info icon, you open a modal with some info about what you can deploy and how to do so.
Clicking the ‘Deploy’ link itself, opens up a modal. Here you can choose to deploy to any non-protected environment.
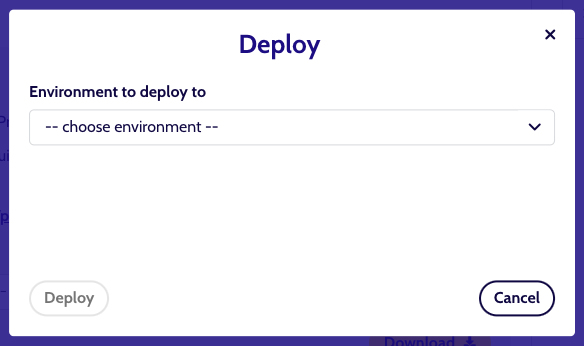
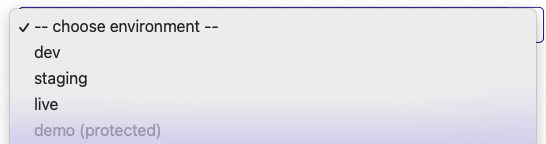
Depending on the deploy method that was set for your target environment when it was created, you’ll see one of these list of options appear when you pick an environment:
1. Deploy a Git reference
About Git references
Depending on the type of project, this might have a different label: eg. "Drupal Specific Git Reference". But the options and usage are the same.
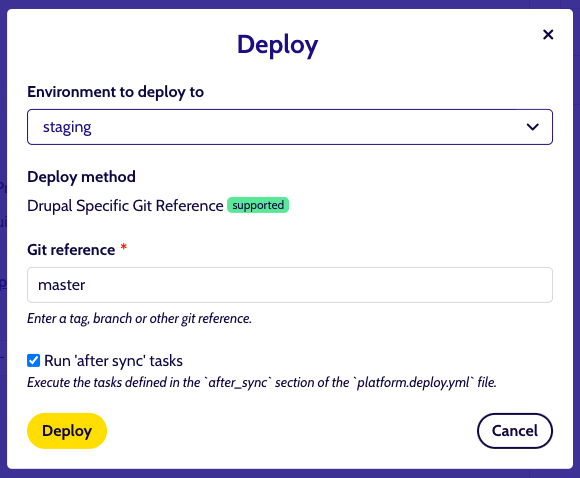
You’ll be able to enter a branch or tag (formatted as refs/tags/my\_tag) and choose to have the sync tasks run that exist in the ‘after_sync’ section of your Project’s deployment file (platform.deployment.yml).
If you haven’t made any changes to that file or section, you can just leave that checked.
2. Deploy an Artifact
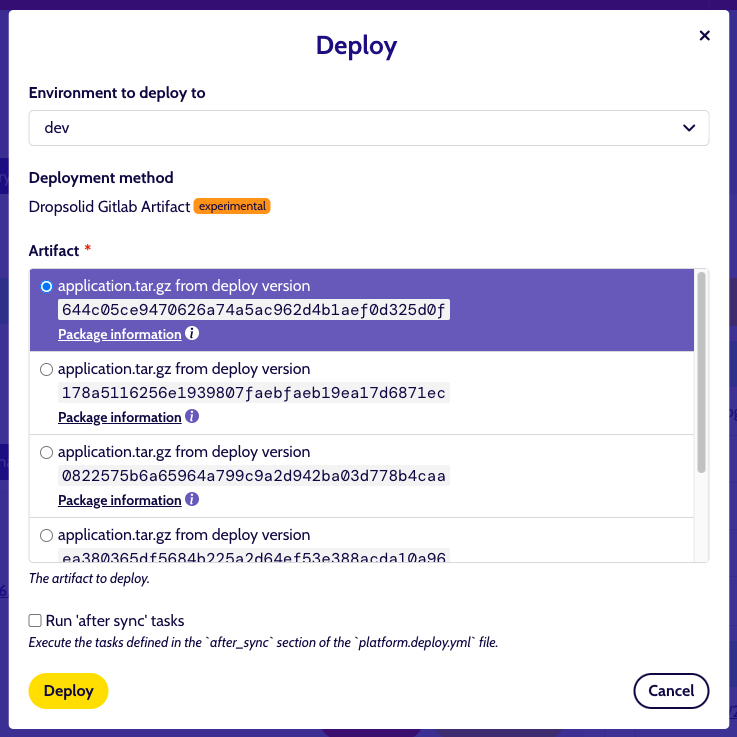
Alternatively, if your target environment is set for Artifacts, you can choose an Artifact and again, choose to have the sync tasks run or not.
Deployment in progress
Once triggered, you will be redirected to that Environment’s page (in the example, the Staging).
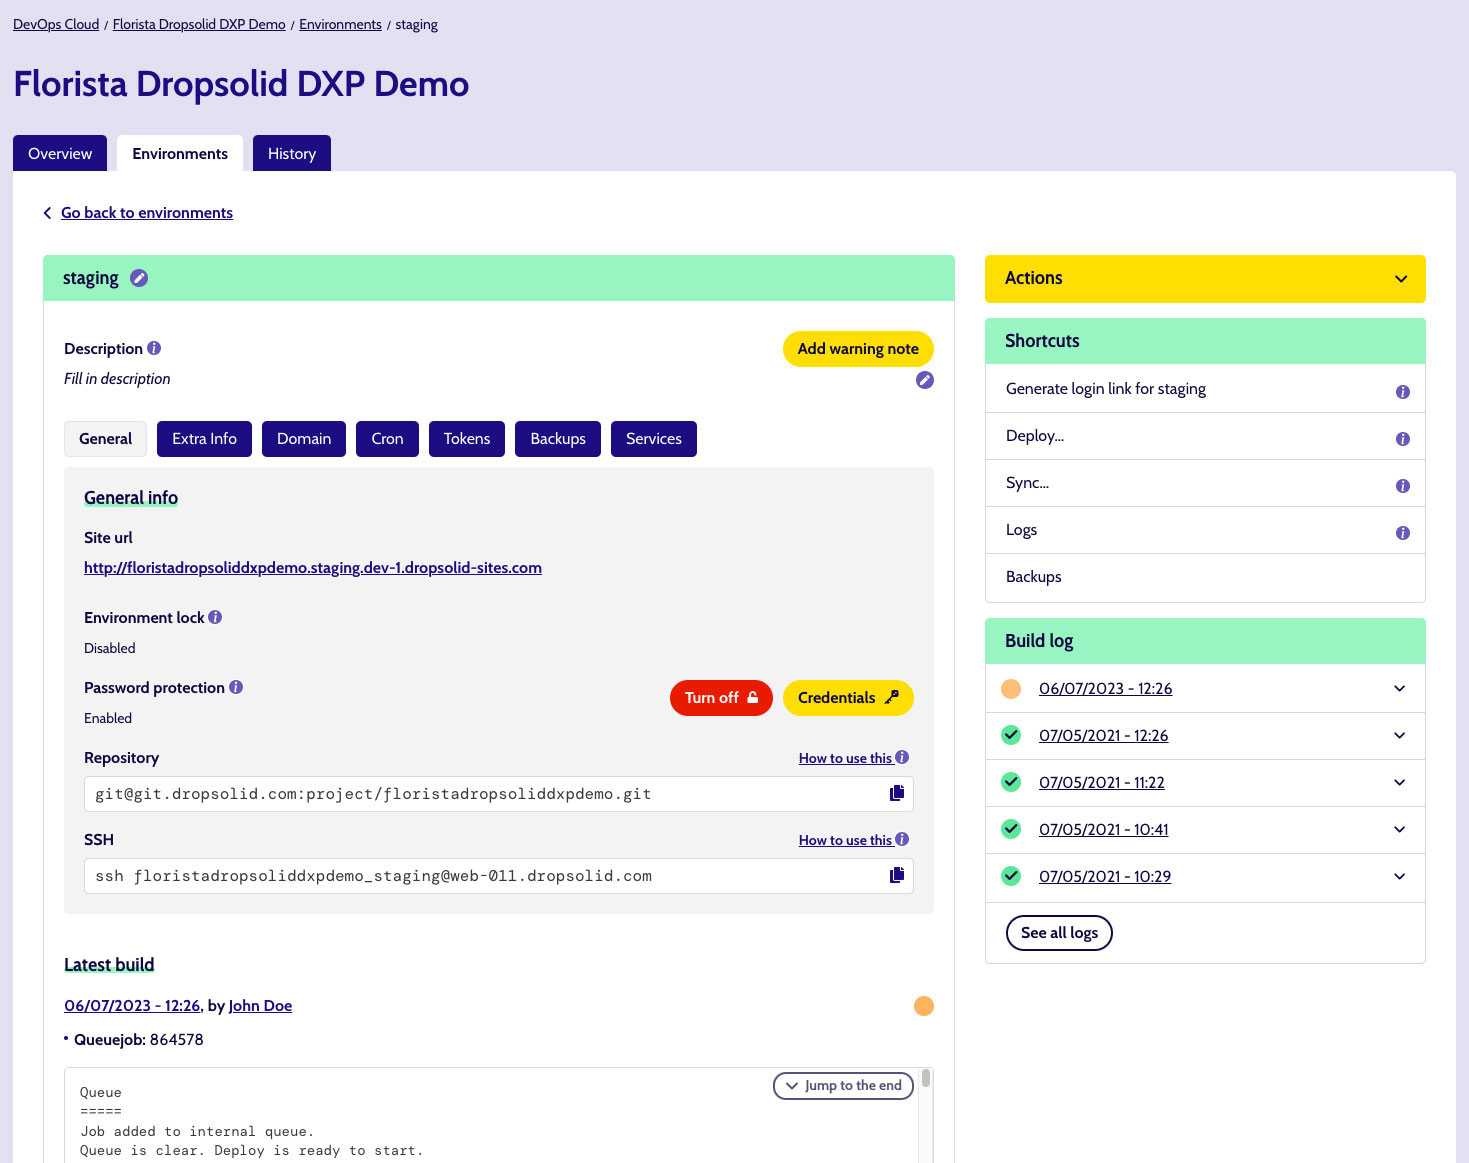
On this page, you can see the active Build displayed at the bottom (the ‘Latest build’ widget) as well as in the sidebar (the ‘Build log’ widget).
There should be a small animation to indicate there is some progress there.

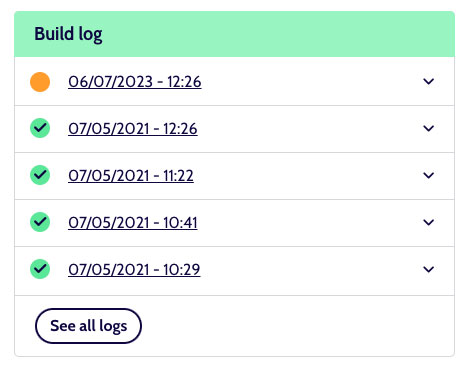
The ‘Latest build’ widget’s code block has a streaming log, which you can expand or follow by using the provided buttons.
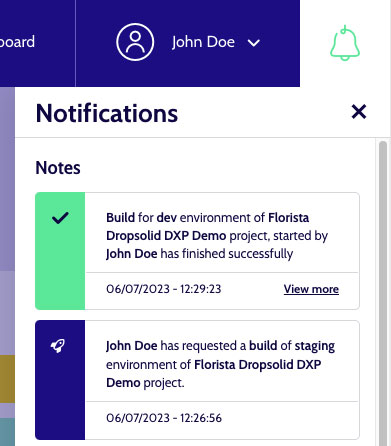
Meanwhile, you also get notifications for the various status changes of the deployment, as well as a visual indicator in the header.

The notifications themselves can be accessed by clicking the bell icon in the header to open the notifications sidebar. There will typically be one for the start of the action, pending state (if deployment is still going) and a success or failure notification.
Deploying from an Environment page
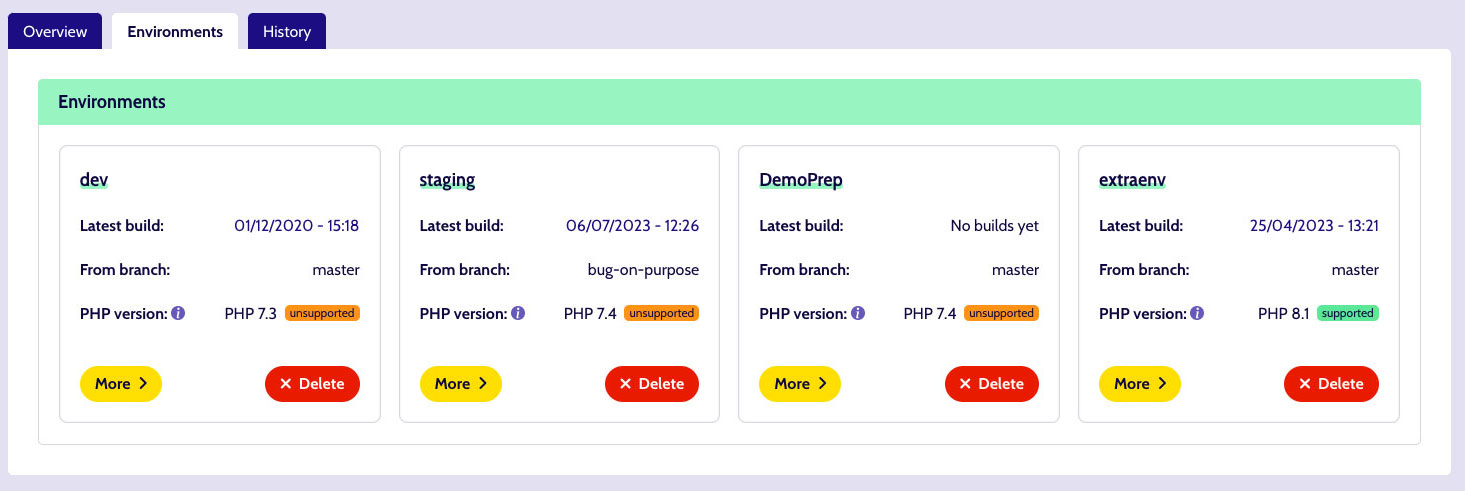
From the Project overview, you can find your way to any of the Environments by clicking the ‘Environments‘ tab next to the ‘Overview’ tab.
From here you can access any Environment available to you and follow the same flow as described before.